The TEAC W-800R is a classic dual cassette deck cherished by audiophiles and cassette enthusiasts. Its reliable performance and vintage charm make it a sought-after device. However, like any cassette deck, the TEAC W-800R relies on belts to function effectively. Over time, these belts wear out, causing playback or recording issues. This guide will walk you through the complete process of replacing the belts in your TEAC W-800R, ensuring it continues to deliver top-notch performance.
Understanding the Importance of the Belt
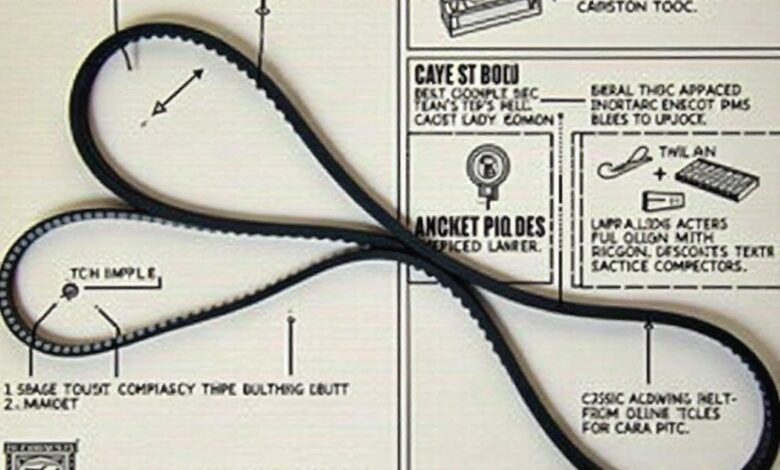
The belt is a critical component in cassette decks like the TEAC W-800R. It transfers the motor’s rotational energy to the tape transport mechanism, ensuring smooth playback and recording. A worn-out or broken belt can result in:
- Sluggish or inconsistent tape movement.
- Distorted audio output.
- Inability to play, rewind, or fast-forward tapes.
Replacing the belt is essential to restore the deck’s functionality and preserve the integrity of your cassette tapes.
Tools and Materials Needed
Before starting the replacement process, gather the following tools and materials:
Tools:
- Phillips and flathead screwdrivers: For disassembling the device.
- Tweezers: To handle small components.
- Needle-nose pliers: For removing stubborn parts.
- Magnifying glass: To inspect tiny components.
Materials:
- Replacement belts: Ensure compatibility with the TEAC W-800R.
- Cleaning supplies: Rubbing alcohol, cotton swabs, and microfiber cloths for cleaning components.
- Light source: A bright lamp or flashlight to illuminate the workspace.
Optional:
- Service manual: Provides detailed diagrams and information specific to the TEAC W-800R.
- Gloves: To avoid transferring oils from your hands to the components.
Step-by-Step Belt Replacement Instructions
1. Preparation
Start by preparing your workspace and device:
- Power off and unplug the device. Safety first—disconnect the TEAC W-800R from any power source to avoid electrical hazards.
- Set up a clean and well-lit workspace. Use a stable surface and ensure all necessary tools are within reach.
- Gather all tools and replacement belts. Double-check that you have the correct belts for your model.
2. Disassembling the Device
Carefully remove the external panels to access the internal mechanism:
- Unscrew the top cover. Locate and remove all screws securing the top panel. Place the screws in a small container to avoid losing them.
- Remove the front panel. Depending on the model, additional screws may secure the front panel. Disconnect any wires or clips connecting it to the main body.
- Expose the belt mechanism. Identify the location of the belts by referring to the service manual or observing the layout.
3. Inspecting the Belt Mechanism
Once the mechanism is exposed:
- Identify the old belts. Examine their placement around the motor pulleys and transport wheels.
- Check for signs of wear. Look for cracks, slack, or brittleness in the old belts.
- Inspect surrounding components. Ensure pulleys and rollers are free of debris and damage.
4. Removing the Old Belts
Follow these steps to remove the worn-out belts:
- Gently detach the belts. Use tweezers or your fingers to carefully lift the belts off the pulleys.
- Dispose of the old belts. Place them aside or discard them appropriately.
- Clean the pulleys and motor shafts. Use a cotton swab dipped in rubbing alcohol to remove any residue.
5. Installing the New Belts
Properly align and install the replacement belts:
- Refer to the belt diagram. Ensure the new belts are routed correctly around the pulleys and motor shafts.
- Check the tension. Ensure the belts are snug but not overly tight, as improper tension can affect performance.
- Test the alignment. Rotate the pulleys manually to verify smooth movement.
6. Reassembling the Device
After the new belts are installed:
- Replace the front panel. Reattach any wires or clips and secure the panel with screws.
- Secure the top cover. Ensure all screws are tightened properly.
- Perform a visual check. Confirm that all components are in their proper places and no screws are left over.
Testing the TEAC W-800R
With the device reassembled, perform these tests to ensure everything is functioning correctly:
Playback Test:
- Insert a cassette tape and press “Play.” Listen for consistent and clear audio.
Rewind and Fast-Forward Test:
- Test the rewind and fast-forward functions to confirm smooth operation.
Recording Test:
- Record a short audio clip and play it back to check for proper recording functionality.
If any issues arise, revisit the disassembly and belt installation steps to identify and resolve the problem.
Maintenance Tips for Longevity
To keep your TEAC W-800R in excellent condition, follow these maintenance tips:
- Regular Cleaning: Clean the tape heads, pinch rollers, and capstans with rubbing alcohol and cotton swabs.
- Store Properly: Avoid exposing the device to extreme temperatures or humidity.
- Inspect Periodically: Check the belts and other components for wear every 6-12 months.
- Use High-Quality Tapes: Low-quality or damaged tapes can cause unnecessary wear on the mechanism.
Troubleshooting Common Issues
Even after replacing the belts, you may encounter some challenges. Here are solutions to common problems:
1. Playback Speed Issues
- Cause: Incorrect belt tension or alignment.
- Solution: Recheck the belt installation and adjust the tension.
2. No Playback or Recording
- Cause: Misaligned components or damaged heads.
- Solution: Inspect the tape heads and ensure proper alignment.
3. Device Doesn’t Power On
- Cause: Loose connections during reassembly.
- Solution: Open the device and verify all connections are secure.
Conclusion of teac w-800r belt replacement instructions
teac w-800r belt replacement instructions is a straightforward process that can breathe new life into this vintage cassette deck. By following this guide, you can ensure smooth playback and recording for years to come. Regular maintenance and proper care will further extend the device’s lifespan, allowing you to enjoy your favorite tapes with pristine audio quality.
If you’re unsure about any step or encounter persistent issues, don’t hesitate to consult a professional technician or refer to the service manual. Happy listening!